
If you are still using Print Screen or Snipping Tool to share Excel data, you are making your life harder than it needs to be.
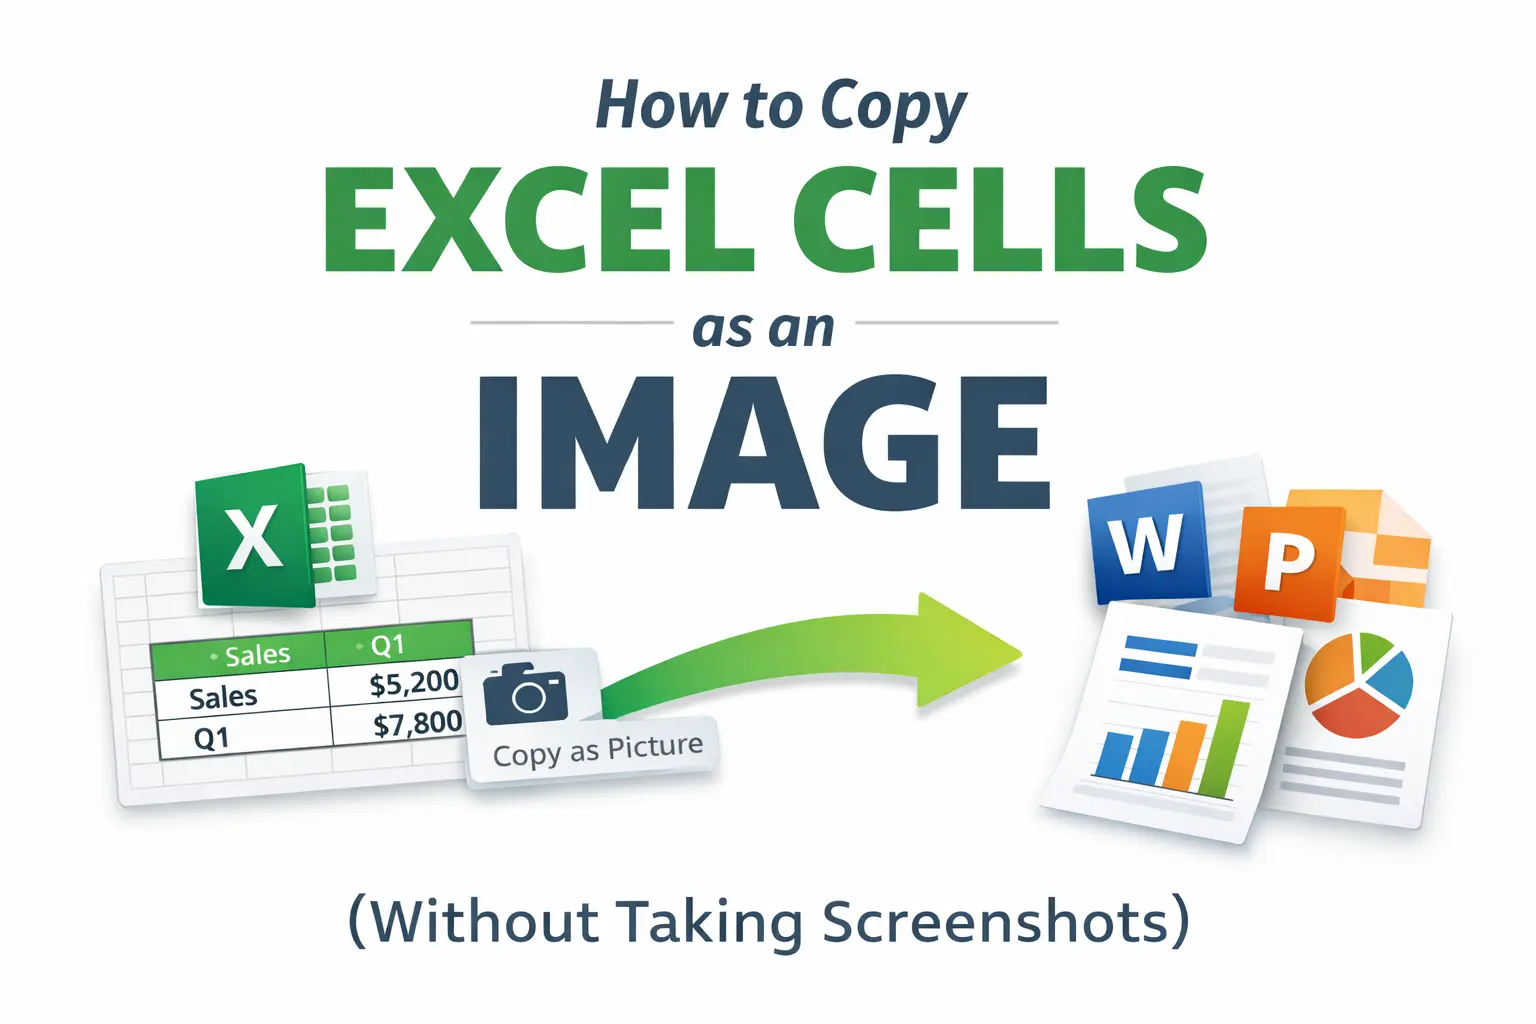
Excel has a built-in way to copy cells as an image, preserving layout and formatting without cropping, blurring, or accidental background junk. It works instantly and produces cleaner results for emails, reports, and presentations.
Most users never discover this feature, so they keep pasting ugly screenshots instead of clean visuals.
This article shows you exactly how to copy Excel cells as an image, when to use it, and how to avoid the most common quality issues.
Why Screenshots Are the Wrong Tool for Excel Data
Screenshots are fast, but they are fragile. They:
- Lose clarity when resized
- Include unnecessary background elements
- Break alignment in documents and slides
- Look unprofessional in reports
Excel already knows how your data is structured. Using screenshots throws that information away. Copying cells as an image keeps the layout intact and gives you a clean, controlled result.
How to Copy Excel Cells as an Image
This is the fastest method using a keyboard shortcut.
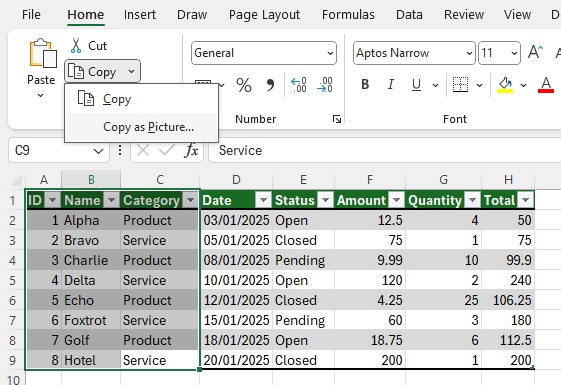
- Select the cells you want to copy.
- Copy them normally using Ctrl + C.
- Press the following shortcut sequence:
Alt → H → V → I
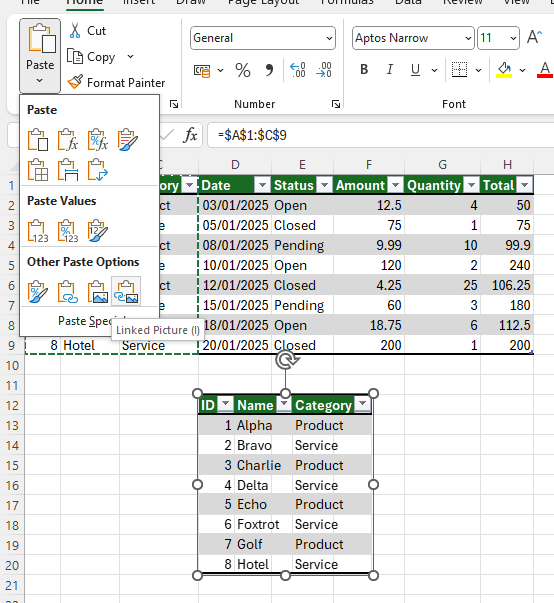
Excel pastes the copied cells as an image, not as editable data. No menus. No extra tools.
When Copying as an Image Is the Best Choice
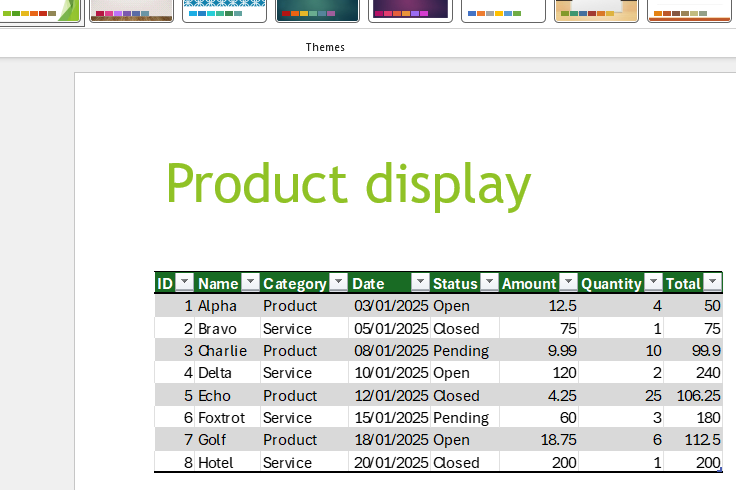
This feature shines when you need to share, not edit. It works especially well for:
- Emails where formatting matters
- PowerPoint slides
- Reports and documentation
- Sharing data with non-Excel users
Because the result is an image, recipients cannot accidentally change values or formulas.
Copy as Image vs Screenshot
The difference becomes obvious immediately.
Copied images:
- Stay sharp when resized
- Keep grid alignment
- Match Excel’s exact formatting
- Do not include UI clutter
Screenshots:
- Blur when scaled
- Capture unnecessary elements
- Require manual cropping
- Look inconsistent across documents
Once you use copy as image a few times, screenshots start to feel primitive.
Common Issues and How to Avoid Them
Blurry images after pasting
Avoid resizing the image excessively after pasting. If you need a larger image, zoom the Excel sheet before copying.
Image looks too small
Increase Excel zoom level first, then copy again.
Wrong cells copied
Make sure you select only the data range you need. Tables help with clean selections, especially if your data grows over time.
Bonus Tip: Save the Image Properly
After pasting the image into Word or PowerPoint, you can right-click it and save it as a standalone image file. This is useful for documentation, wikis, or sharing visuals without exposing the spreadsheet itself.
Why This Beats Manual Workarounds
Manually cropping screenshots is slow and error-prone. Copying cells as an image is faster, cleaner, and repeatable.
This is the same philosophy behind features like Flash Fill and structured tables. Reduce manual cleanup, prevent mistakes, and let Excel do the boring work for you.
Final Thoughts
Excel is full of small features that quietly remove friction. Copying cells as an image is one of those features that feels minor until you realize how often you share spreadsheet data.
Once you switch, screenshots become the last resort instead of the default.