
Why You Should Create Tables in Excel
Excel tables are powerful tools that let you manage, analyze, and visualize data efficiently. When you convert a plain range of data into a table, Excel adds functionalities like filtering, automatic formatting, dynamic referencing, and auto-expanding rows. That’s why you should create tables in Excel!
Table vs. Range in Excel
Unlike standard cell ranges, Excel tables come with a dedicated structure that includes headers, rows, columns, and total rows. They support structured references, making formulas more intuitive and readable.
Key Benefits of Excel Tables
- Automatic filtering and sorting built-in
- Consistent cell formatting and styling
- Easy-to-use total row with built-in formulas
- Auto-expands as you add more data
- Structured references simplify formulas
- Header row stays visible when you scroll
For more tutorials like this, visit Spreadsheet Success Tutorials.
How to Create Tables in Excel Step by Step
Creating a table is fast and easy with multiple methods:
Method 1: Ctrl + T Shortcut in Excel
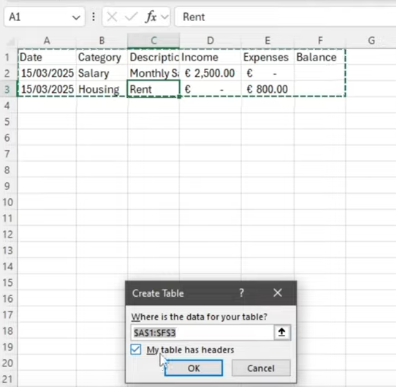
- Select your data range (including headers).
- Press
Ctrl + T. - Ensure “My table has headers” is checked.
- Click OK. Done!
Method 2: Home > Format as Table
- Highlight your data.
- Navigate to the Home tab.
- Click “Format as Table” and choose a style.
- Confirm headers option and hit OK.
Method 3: Insert > Table
- Click anywhere inside your data.
- Go to the Insert tab.
- Choose “Table”.
- Confirm the settings and click OK.
How to Format and Name Excel Tables
Once your data is a table, it becomes easier to customize:
Changing Styles in Excel Tables
Under the Table Design tab, you can choose from dozens of visual styles (e.g., banded rows, color themes). You can also:
- Highlight the header row
- Enable banded columns
- Change font styles and alignment
Naming Your Excel Table for Clarity
By default, Excel names tables like Table1, Table2, etc. Change this to something meaningful:
- Go to Table Design tab
- Find the Table Name field
- Rename it to something like
BudgetTable
This name can then be used in structured formulas.
Add Total Rows and Use Structured References
How to Add a Total Row in Excel Tables
- Click anywhere inside the table.
- Go to Table Design.
- Check the “Total Row” option.
Using Built-in Functions in the Total Row
Click on any total row cell to access a dropdown with built-in functions like SUM, AVERAGE, COUNT, etc.
Using Structured References in Excel
Instead of =B2-C2, use:
=[@Income]-[@Expenses]Structured references improve formula readability and auto-update as the table grows.
How to Expand Tables and Enter Data
One of the best features of Excel tables is auto-expansion:
- Place your cursor in the last cell of your table.
- Press
Tabto add a new row. - The new row inherits all formatting, styles, and formulas automatically.
Use this for seamless data entry, especially for budgets or logs.
Sorting, Filtering and Scrolling in Excel Tables
Sorting and Filtering Table Data
Every column header includes a dropdown filter:
- Filter by value, text, or number.
- Sort A-Z or Z-A.
Example: To see only “groceries” expenses, use the Category dropdown and deselect all except “groceries”.
Sticky Headers in Excel Tables
When scrolling, table headers remain visible, improving data readability. This happens automatically when you use tables.
How to Build a Personal Budget Table in Excel
Let’s build a budget tracker:
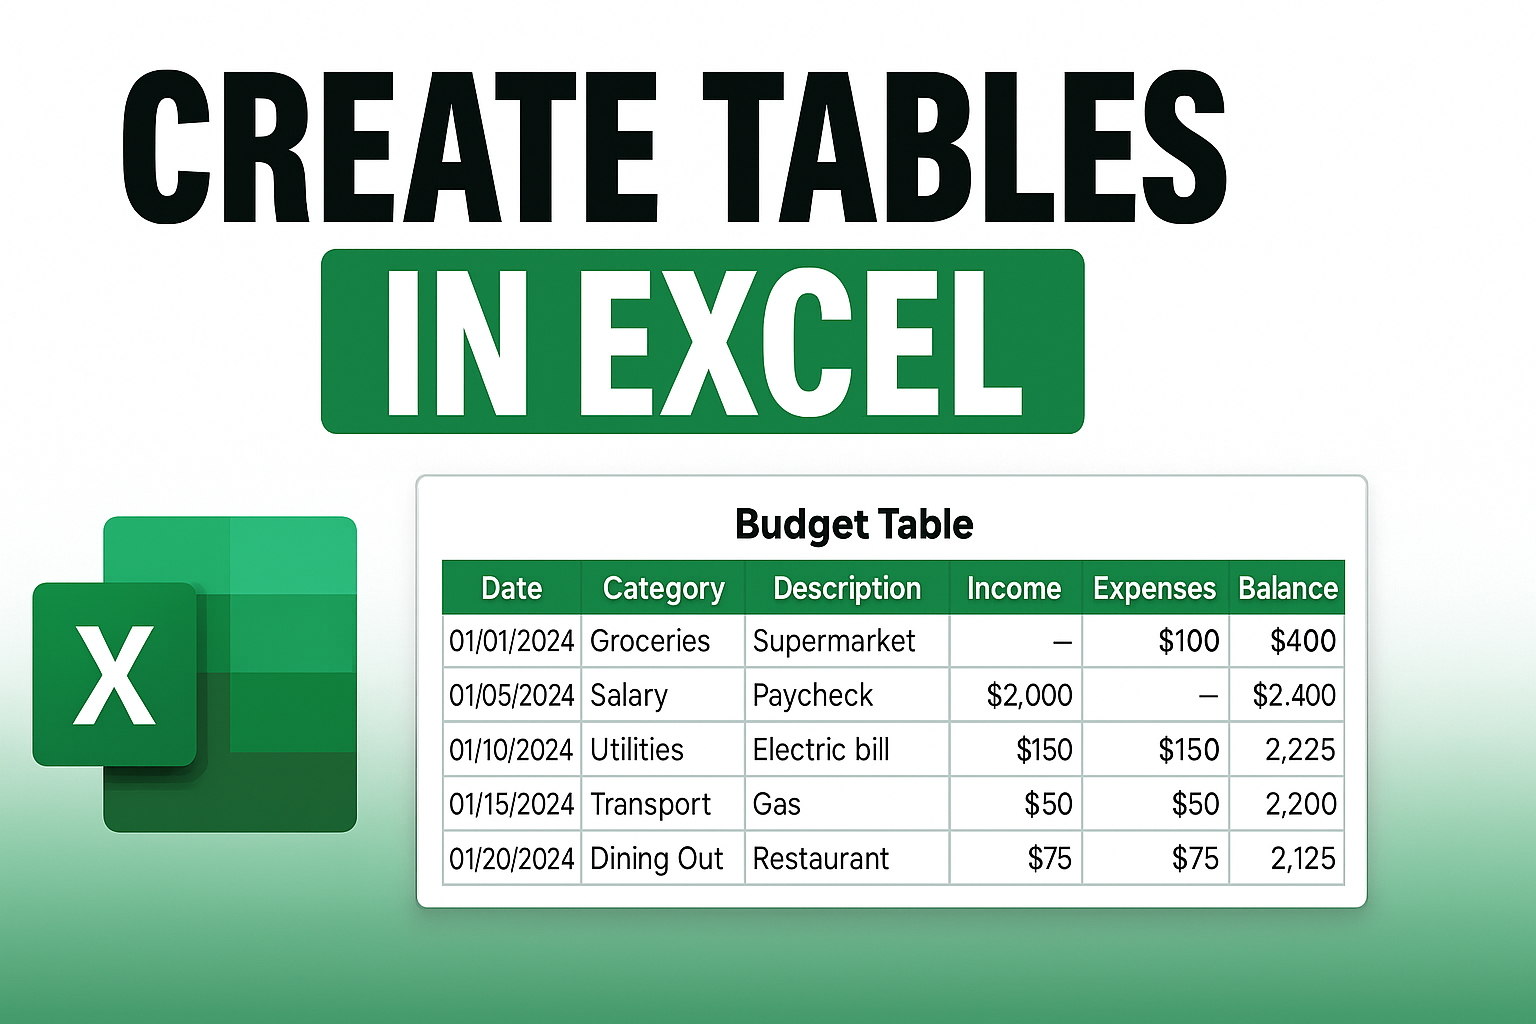
- Create headers: Date, Category, Description, Income, Expenses, Balance
- Add entries like salary, rent, groceries
- Use currency formatting
- Convert to table with
Ctrl + T - Add total row and use SUM for Income & Expenses
- Use formula:
=[@Income]-[@Expenses]for Balance
Now add new rows via Tab and watch totals update instantly.
Excel Table Tips and Troubleshooting
Resize or Convert Table to Range
- Resize: drag bottom-right corner of the table.
- Convert to range: Table Design > Convert to Range
Common Issues With Excel Tables
- Table not expanding? Ensure data is adjacent.
- Structured reference error? Check table name or header typos.
Use Excel Tables With PivotTables
Tables make great sources for PivotTables. They update dynamically with new data.
What to Do Next With Excel Tables
- Use your table as the source for PivotTables.
- Apply Conditional Formatting rules.
- Add Data Validation for drop-downs.
These build a foundation for more advanced spreadsheet automation.
Quick Takeaways
- Use
Ctrl + Tfor fast table creation. - Tables auto-format and expand.
- Enable Total Row for built-in formulas.
- Use structured references for clean, readable formulas.
- Tables improve filtering, sorting, and visual clarity.
- Perfect for budgets, logs, and data analysis.
Final Thoughts
Excel tables transform your raw data into dynamic, easy-to-manage resources. From automatic formatting and filters to real-time totals and structured formulas, they save you time and reduce errors. Once you start using tables, you’ll never go back to plain cell ranges. That’s why you should create tables in Excel!
Want to see all of this in action? Watch the full video tutorial Watch the full tutorial here, where I walk you through creating and formatting an Excel budget table from scratch.
Like the video? Subscribe to Spreadsheet Success for more powerful Excel tutorials and productivity tips.
Have you used tables in Excel before? Share your favorite tips or use cases in the comments! For more Excel help, visit the Spreadsheet Success website.
FAQs
1. What is the shortcut to create a table in Excel?
Press Ctrl + T to instantly convert a range into a table.
2. How do I enable the total row in a table?
Click the table, go to Table Design, and check “Total Row.”
3. How do I expand a table automatically?
Use the Tab key on the last cell to add a new row with all formatting applied.
4. What are structured references in Excel?
Structured references use table names and headers to make formulas readable, e.g., =[@Income]-[@Expenses].
5. Can I convert a table back to a normal range?
Yes. Select the table, go to Table Design, and click “Convert to Range.”